
The journey of learning to play the piano is enjoyable and adventurous. When learning to play the piano, some beginners may experience overwhelming feelings. You might be overwhelmed by the piano’s keyboard layout, think it makes no sense, and feel disoriented. Nevertheless, there is a simple solution to help you solve this issue: make labeled piano keys! Here’s how to label your piano the right way.
Understanding the Layout of Your Keyboard
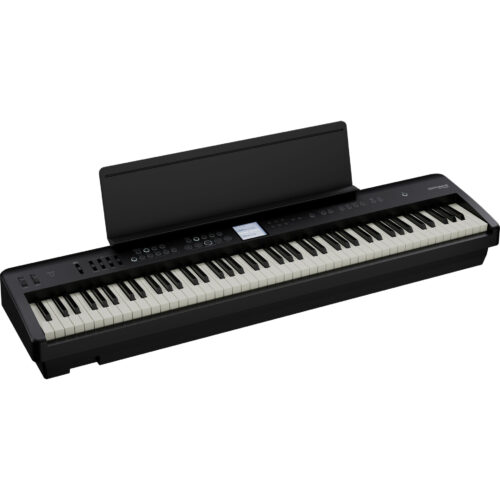
The piano keyboard is made up of 88 keys, with 52 white keys and 36 black keys. The white keys are referred to as natural notes and are labeled A, B, C, D, E, F, and G. The black keys are referred to as sharp (#) or flat (b) notes and are labeled to the white key immediately to the left or right.
The next thing is learning the note names. The first step in labeling your piano keyboard is to understand the names of the notes. Start by marking the white keys, starting with note C and moving to the right. Then, label the black keys to the white keys they are adjacent to.
Since middle C is the root of the C major scale, which encompasses all the white keys, we frequently begin there. Consider the C major scale as a neutral starting point for more complex music theory in the future. Let’s try to locate it. Do you see how the piano has groupings of two and three black keys that repeat? On the left of the pair of black keys, C is located. Here it is on the piano:
Labeling Your Keyboard
Once you have learned the names of the notes, you can use stickers or markers to label each key. Make sure to place the labels in a clear and easy-to-read location. Firstly, mark the octaves. The piano keyboard covers several octaves, and it can be helpful to label each octave with a number or symbol. This will make it easier to communicate with other musicians and to follow sheet music.
The next thing is to label your sharps and flats. In addition to marking the natural notes, it is also important to label the sharp (#) and flat (b) notes. These can be labeled using stickers or markers and placed in a clear and easy-to-read location. In the end, your keyboard should look like this:

Practice Using the Labels
Practice using the labels: Once you have labeled your keyboard, practice playing and identifying the notes using the labels as a reference. This will help you internalize the keyboard’s layout and familiarize yourself with the note names.
Consider a permanent labeling solution: If you plan to use your piano or keyboard regularly, consider a permanent labeling solution such as etched or printed labels. This will ensure that the labels remain legible and easy to read, even with frequent use.
Conclusion
By following these steps, you can effectively label your piano keyboard and improve your ability to play and understand music. Good luck, and happy playing! If you have any more questions about buying the right piano, we can help you!
Check out our new and used pianos to purchase your dream piano, and contact us! Please chat with us, fill out a form, or call us at 615-771-0020! Our hours are Monday-Saturday from 10 am to 6 pm. We are here for you.